

Shopify Capture (Custom Pixel)
How to capture additional data from your Shopify site
DeprecatedThe Custom Pixel approach to integrating LogRocket into Shopify stores documented here is no longer supported. The supported method for integrating LogRocket into Shopify is to use our Shopify App.
Step 1 - add the LogRocket snippet to your Shopify theme
Follow the Quickstart instructions and add the LogRocket Script Tag or NPM package into your Shopify site.
We recommend adding code similar to this into your theme.liquid template to identify the customer when they create an account with your store:
  var customerOrders = {{ customer.orders | json }} || [];
  var customerData = {
    id: "{{ customer.id }}",
    email: "{{ customer.email }}",
    name: "{{ customer.name }}",
    phone: "{{ customer.phone }}",
    totalSpent: "{{ customer.total_spent | money }}",
    customerOrders: customerOrders.length,
  };

  if (customerData.id !== '') {
    window.LogRocket && window.LogRocket.identify(customerData.id, customerData);
  }
Step 2 - add the LogRocket custom pixel
Shopify limits the ability for scripts to run during the checkout pages. Instead, they make it possible to capture some events from the checkout process for tracking user behavior on these pages. To enable this capture, follow these steps:
- From the Shopify admin, search for "Pixels"
- Click "Add custom pixel"
- Name your pixel "LogRocket event capture"
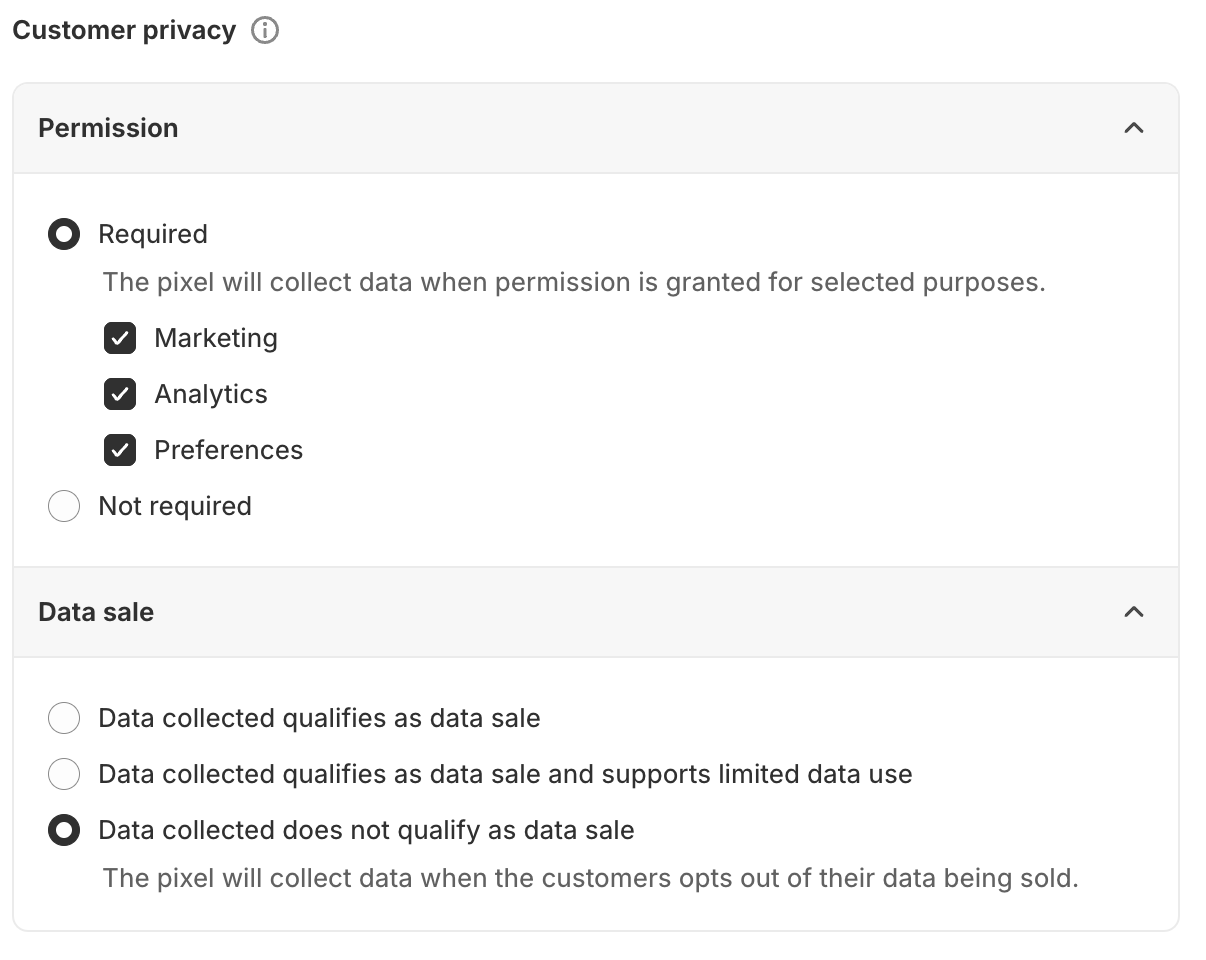
- Choose the following options
- Update the Code section with the following code, replacing
APP_IDwith the same APP_ID from Step 1:
var s = document.createElement('script');
s.src = 'https://cdn.lrkt-in.com/shopify-pixel.min.js';
document.head.appendChild(s);

s.onload = () => {
  LogRocketShopify.init(APP_ID, {
    analytics: analytics,
    browser: browser,

    // if you are using rootHostname to join multiple subdomains, ensure that you set that in your options
    // rootHostname: 'domain.com'
  });
};- Click the "Save" button and then "Connect".
Updated over 1 year ago