

Surveys Quick Start
This guide gets your first survey live and collecting real feedback in about two minutes.
We'll cover just the essentials — for the full set of options, see Creating Surveys.
Before you start: Surveys require the LogRocket SDK to be running on your site or app. If you haven't set up LogRocket yet, follow the Quick Start guide for SDK installation first — it only takes a few minutes.
Step 1: Create a new survey
Navigate to the Surveys tab in your LogRocket dashboard and click + Create survey in the top-right corner.
You'll see a template picker with five pre-built survey templates and a "Start from scratch" option. For your first survey, we recommend the Onboarding Experience template — it comes pre-loaded with a good mix of question types and you can customize it from there.
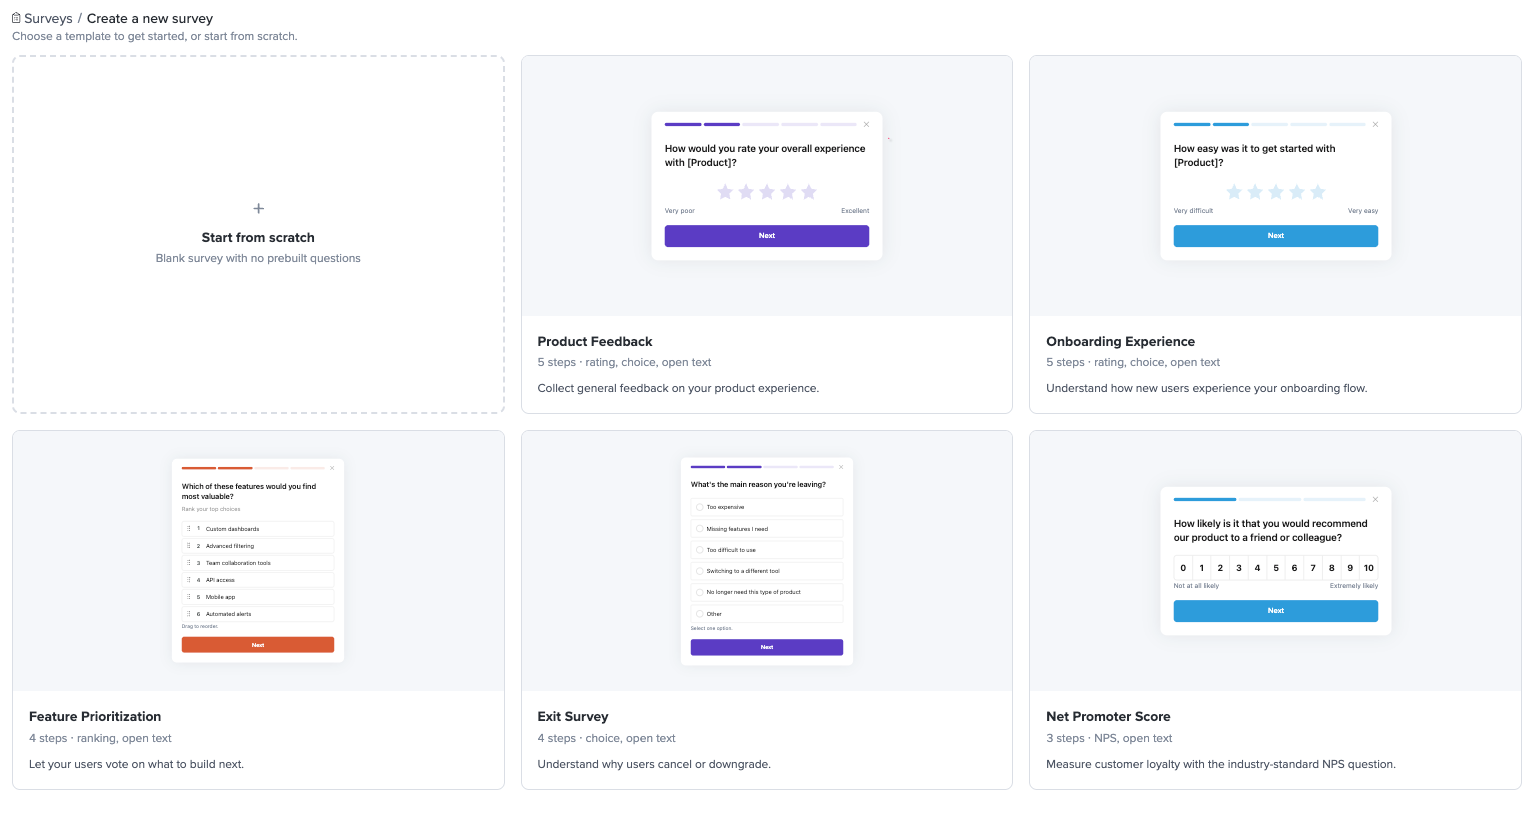
The template picker. Choose a template to start with pre-configured questions, or start from scratch.
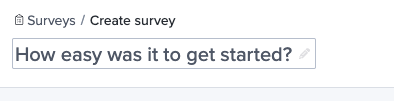
Step 2: Name your survey
Click the survey name at the top of the builder and give it a name your team will recognize (e.g. "Onboarding feedback" or "Feature prioritization Q2"). Your users never see this — it's just for your dashboard.
Step 3: Review and customize your questions
If you picked a template, you'll see pre-configured questions in the Build tab. You can use them as-is, edit the text, reorder steps by dragging, or add and remove questions.
If you started from scratch, you'll have a welcome screen and an end screen. Click the + button between them to add your first question.
For a simple first survey, try this setup:
- Welcome screen — Title: "Quick question about your experience." Description: "Help us improve — takes 30 seconds." Button text: "Sure."
- Rating — Title: "How easy was it to get started?"
- Open text — Title: "Any other thoughts?"
- End screen — "Thanks for your feedback!"
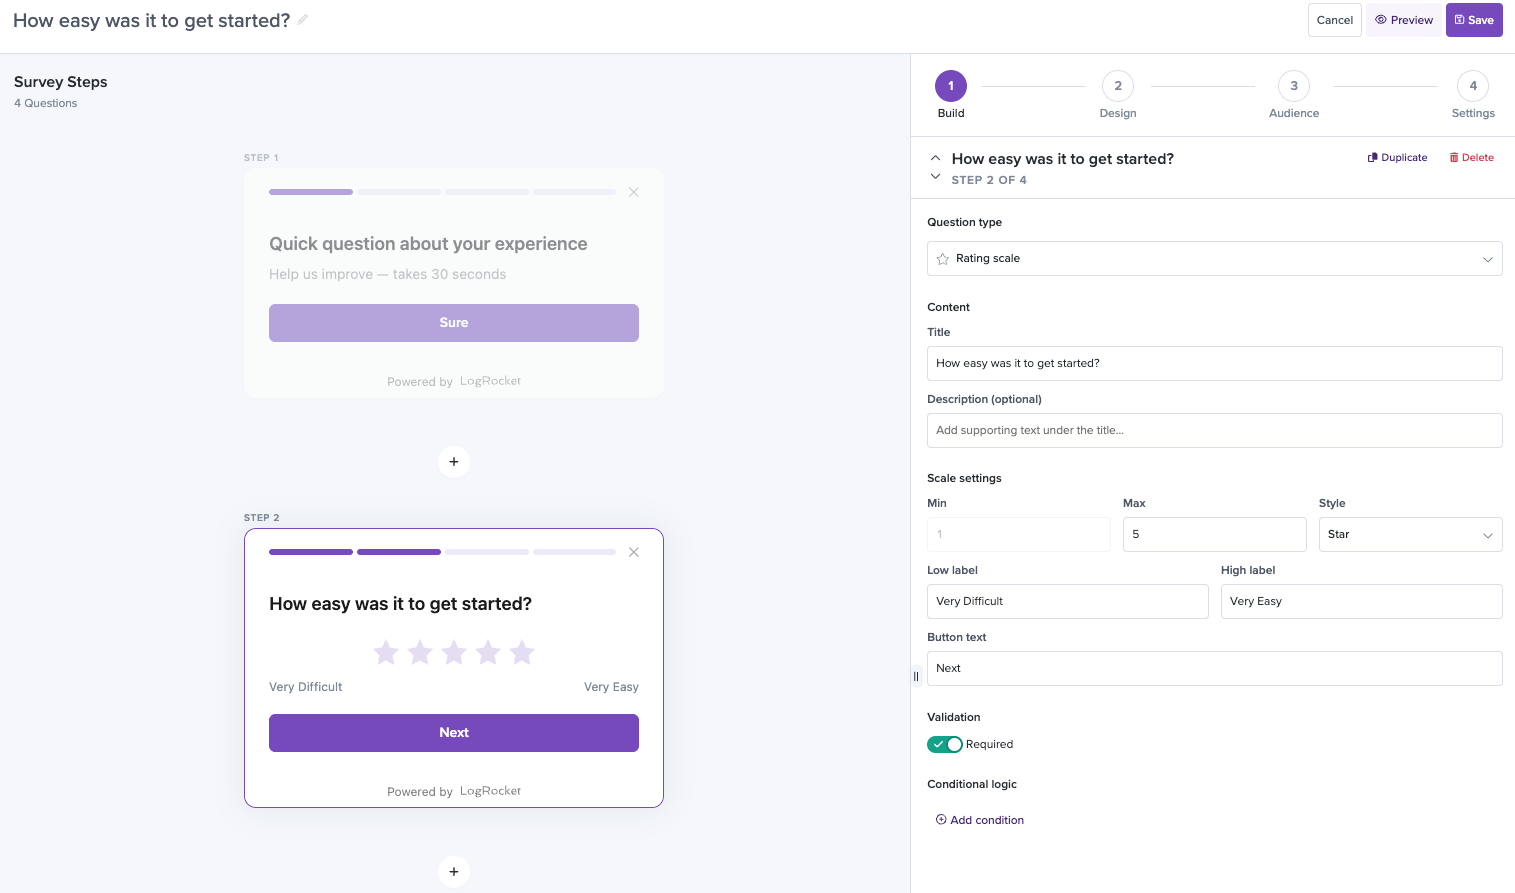
The Build tab showing a simple 4-step survey.
Step 4: Set your design and audience
Switch to the Design tab and set your brand's primary color. The default position (bottom right) and progress bar style (steps) work well for most use cases.
Then switch to the Audience tab. You can optionally add targeting filters to control who sees the survey — for example, a "Visited URL" filter to show it only on specific pages, or a "Device type" filter to limit it to desktop users. If you don't add any filters, the survey will be shown to all users.
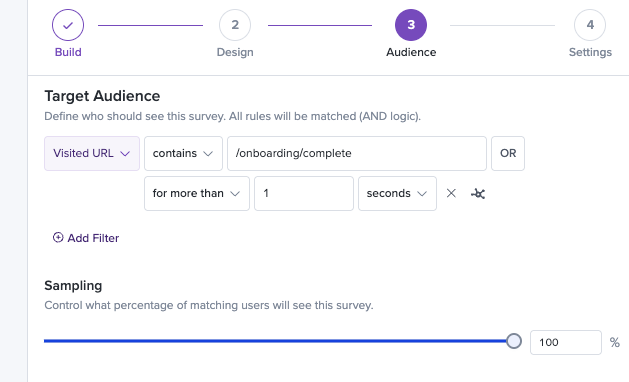
The Audience tab with a URL targeting filter configured.
You can also set a Targeting percentage if you want to start with a smaller sample (e.g. 25%) before rolling out more broadly.
Step 5: Save, preview, and activate
Click Save in the top-right corner. Your survey is saved in an Inactive state — it won't appear to users yet.
Click Preview to step through the survey exactly as your users will see it. Make sure the questions read well and the flow feels natural.
When you're ready, return to the Surveys list and toggle the status switch next to your survey to Active.
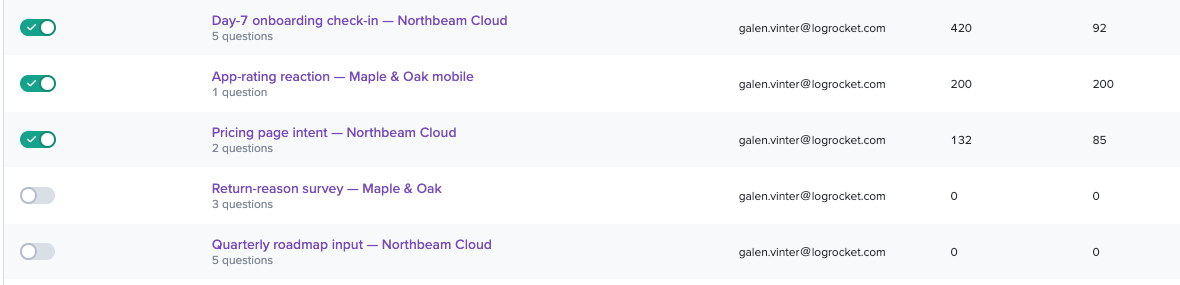
The Surveys list showing the active/inactive toggle.
What happens next
Your survey is live. It'll start showing up for users who match your targeting criteria (or everyone, if you skipped filters). How fast responses roll in depends on your traffic and targeting — on a busy site you might see the first ones within minutes; with narrow targeting or lower traffic, give it a few hours or a day.
You can monitor incoming responses at any time by clicking your survey name from the Surveys list to open the Survey Analytics view. You'll see aggregate metrics (impressions, starts, completions), per-question breakdowns, and a table of individual responses — each with a link to the session replay where the feedback was submitted.
For the full set of question types, conditional logic, design customization, and more, see Creating Surveys.
Updated about 1 month ago